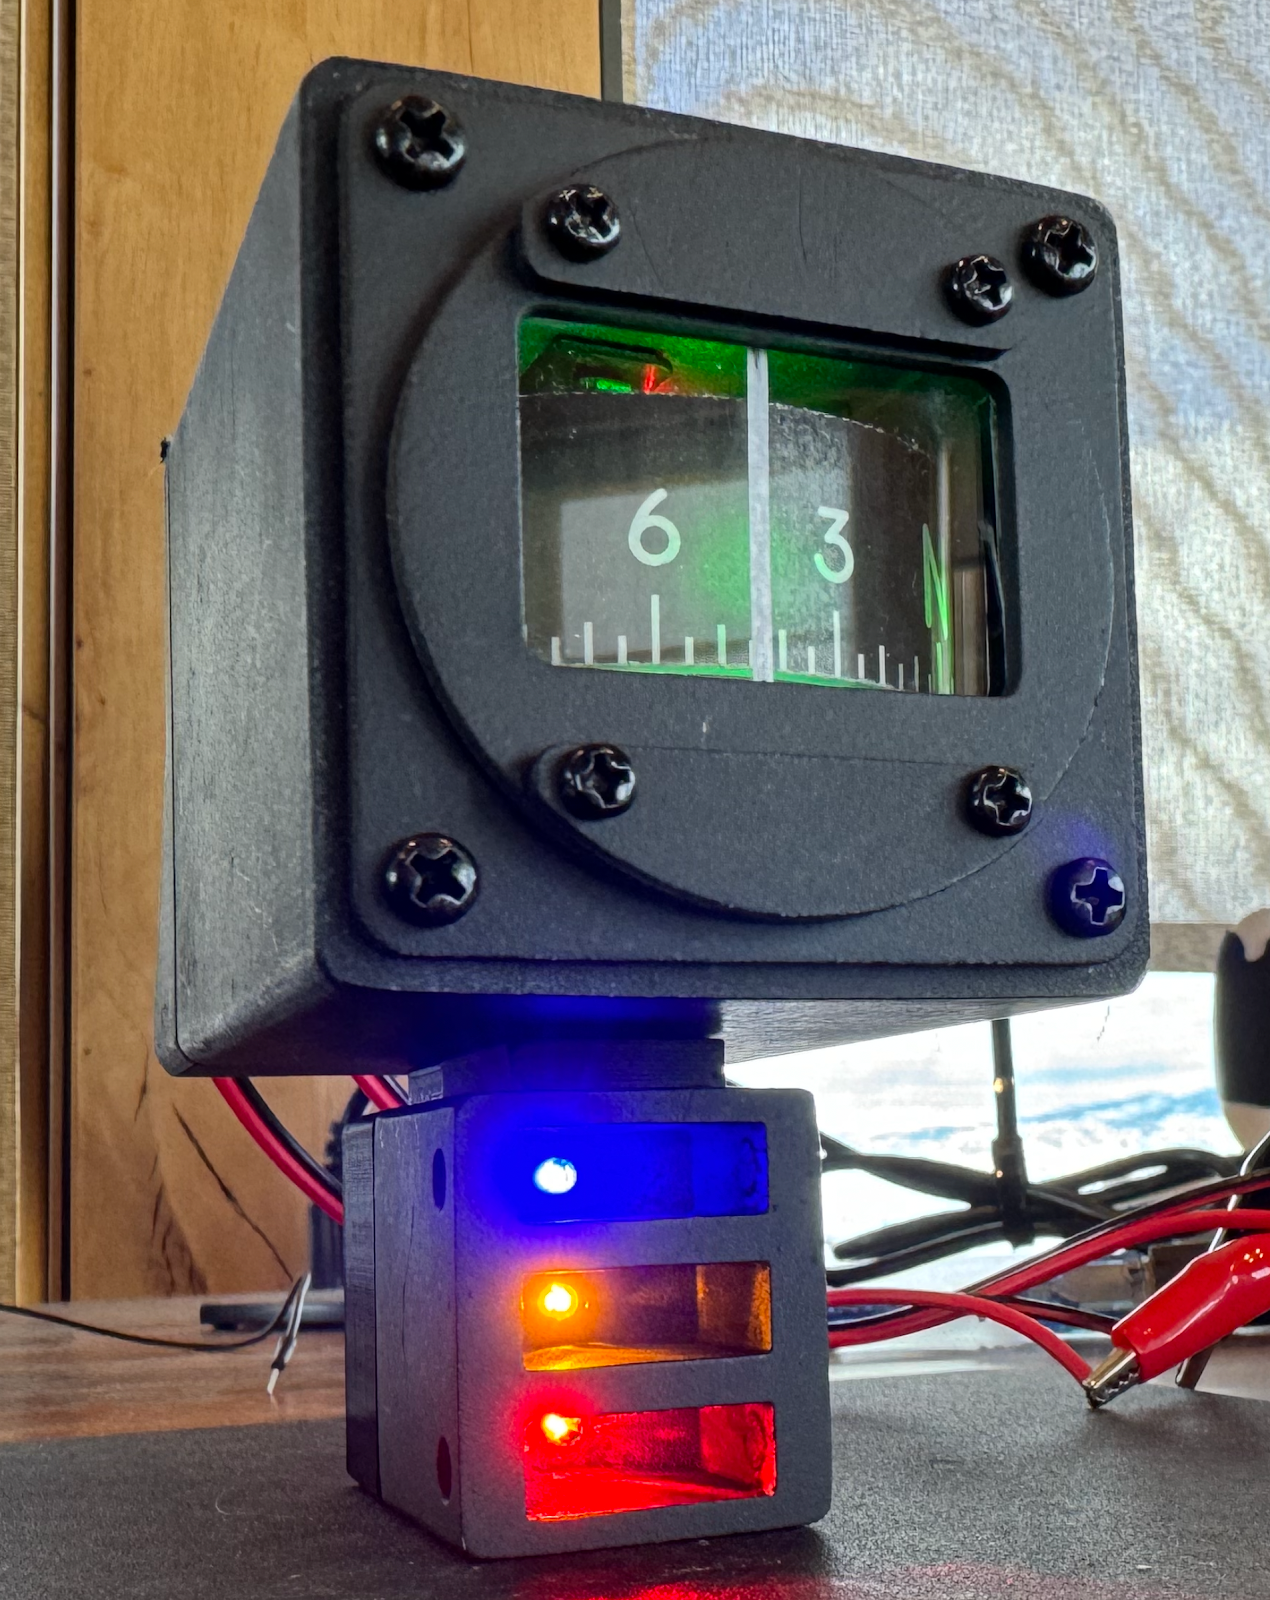
Standby Compass - first steps
Started on a standby compass today. Printed out the parts from TWP (Warthog Proj) and ordered electronics he mentioned in the video. Did the same finishing of the 3d prints as he did - started the sanding.
Mounted the electric dewalt sander in the big vice upside down to act as a bench sander. Sanded and rinsed them in water to remove the dust. Will use spray filler and then paint to get them looking better.
Used some of the black M3 screws to mount some of the parts.
Learned a bit about backlighting, TWP has some good info on that.
Ordered computer PSU breakout boards to get to power coming off that. Also ordered 2 PWM LED dimmers to connect to that breakout.
3d prints:
I like the organic/tree supports, but make sure you orient the part such that the top of the tree is minimal cross section. If the tree ends up "spreading out" at the top it is near impossible to break loose - you want a minimal connection at the top where it supports the print. Flexing them with pliers tends to break them loose fairly well.

